A photo walk in Vasai can turn an ordinary outing into a closer look at architecture, shoreline patterns and the changing light. You do not need a large camera kit or a list of dramatic locations. A clear theme and a manageable walking route are enough to help you come home with photographs that belong together.
This guide offers a practical approach for a phone or camera: choose one setting, make a small sequence of images and keep captions accurate. It focuses on heritage and coastal options, with a few exercises you can repeat on another visit to see how your attention changes.
Choose one location and one visual theme
For architecture, Vasai Fort gives you openings, walls and surviving spaces to observe. For coastal light, a beach gives you a horizon, changing waterline and sand textures. For an archaeological theme, Sopara asks for a quieter kind of documentation built around the visible remains.
Pick the subject before travelling. A theme such as “arches and light” or “shoreline patterns” narrows your attention in a useful way. It is easier to make a thoughtful set at one place than to rush between several destinations looking for a single impressive frame.
The Vasai Fort guide helps with the first location’s background and access planning. Read enough to understand the setting, then let the walk concentrate on what is actually visible on your date.
The map searches for the fort as a starting location. Confirm current access and photography instructions before beginning. The route exercises below are suggestions for permitted walking areas, not a marked photography tour.
Make a six-picture story instead of a large collection
Set yourself a small target: one establishing view, two medium views, two details and one closing image. The establishing picture shows where the walk takes place. The medium views explain the main subject, while details reward closer attention.
At a fort, your establishing picture might include a wall and the surrounding ground. A medium view could show an opening, followed by the texture of masonry as a detail. At a beach, the same structure could begin with the horizon and end with the changed evening light.
The closing photograph does not need to be the sunset. It can show the way back, a final view through an arch or a quieter composition that feels like the end of the outing. Choose it because it completes the sequence, not because it is the brightest image.
This exercise also helps with editing. Six chosen pictures are easier to assess than many near-duplicates. If an image repeats the same information, keep the stronger one and let another view add something different.
Read the light before changing settings
Look at where light falls and where shadow begins. Harder light can show wall texture and strong shapes; softer light can make it easier to include both a subject and its surroundings. Choose the composition from those conditions rather than expecting the place to match an online photograph.
On a phone, tap the important part of the frame to set focus and inspect the exposure. If the sky is too bright, reduce exposure slightly and check whether the subject still has useful detail. Take a second frame if needed rather than assuming the first preview tells the whole story.
For a camera, use settings you already understand and check the result. Keep the walk focused on observation instead of changing every control for each picture. A sharp, clearly composed image is a better starting point than a complicated setting used without a purpose.
At sunset, check the time for the date and arrive before the main colour develops. Give yourself a few compositions in daylight first. Even if cloud hides the sun, you can still record the atmosphere and the shape of the shore.
Use arches, edges and horizons deliberately
An opening can frame what is beyond it. Stand on an accessible path and compare a straight-on view with a slight side angle. The first may emphasise symmetry; the second can show depth. Choose the version that communicates your subject more clearly.
Look at the edges of the frame before pressing the shutter. A clipped doorway or an unrelated object at the side may distract from the intended shape. A small change in position can simplify the picture without removing or rearranging anything in the setting.
For a beach photograph, keep the horizon level and decide whether the sky or the sand deserves more room. A shoreline curve can lead the eye through the image. Include a foreground only when it adds meaning rather than placing an object there for decoration.
The Suruchi Beach evening guide offers a coastal option for this exercise. Plan the beach as its own stop and settle the return arrangement before concentrating on the camera.
Details: notice without disturbing
Close photographs can record brick patterns, a weathered surface or lines in sand. Find a detail you can reach from the normal walking area. There is no need to climb masonry, cross barriers or step onto wet rocks to make a picture feel more unusual.
Keep natural material where you find it. Do not lift stones, move vegetation or collect shells for a foreground arrangement. The photograph should reflect your observation rather than an altered scene that you later present as untouched.
If you enjoy coastal textures, the Bhuigaon Beach guide describes the sandy coast and rocky habitat documented in part of the area. Use that as background, not a promise that every visit reveals the same detail.
At an archaeological site, avoid assigning dates to individual surfaces without supporting information. A detail picture can show shape and material accurately while leaving interpretation for a source you can check later.
People in the frame
Ask before making a portrait of a stranger or using someone as the main subject. Explain briefly what you want to photograph and accept their answer. A community or worship setting is not an automatic invitation to make close pictures of everyone present.
For companions, choose a comfortable position on the usual walking surface. Keep the pose simple and let the location remain visible. A person can show scale without needing to stand on a wall, lean over an edge or walk into the sea.
At a religious site, follow photography instructions and avoid interrupting prayer or blocking a queue. At businesses, ask before photographing interiors or staff. Permission and timing can produce a better image while making the encounter more considerate.
A ninety-minute walk exercise
Use the first fifteen minutes to orient yourself and decide what the light is doing. Take one wider image and choose two or three accessible positions to revisit. Keep the route short enough that returning to the start remains straightforward.
Spend the middle portion making the medium views and details. Before each photograph, name the subject in a few words. If you cannot explain what the image is about, simplify the composition or move on to another observation.
Use the final part for a closing image and a quick review. Check focus, obvious distractions and whether the sequence contains enough variation. Then put the equipment away and return with time to spare rather than keeping the walk open until the last possible light.
The duration is a suggested exercise, not an official visit slot. Adjust it to the location, weather and your group. A shorter walk with six coherent images can be more useful than a long session with no clear subject.
Edit lightly and caption honestly
Begin by selecting rather than processing. Keep images that communicate different parts of the walk, remove weak duplicates and check whether the order makes sense. Then make modest exposure, colour and crop adjustments that support what you intended to record.
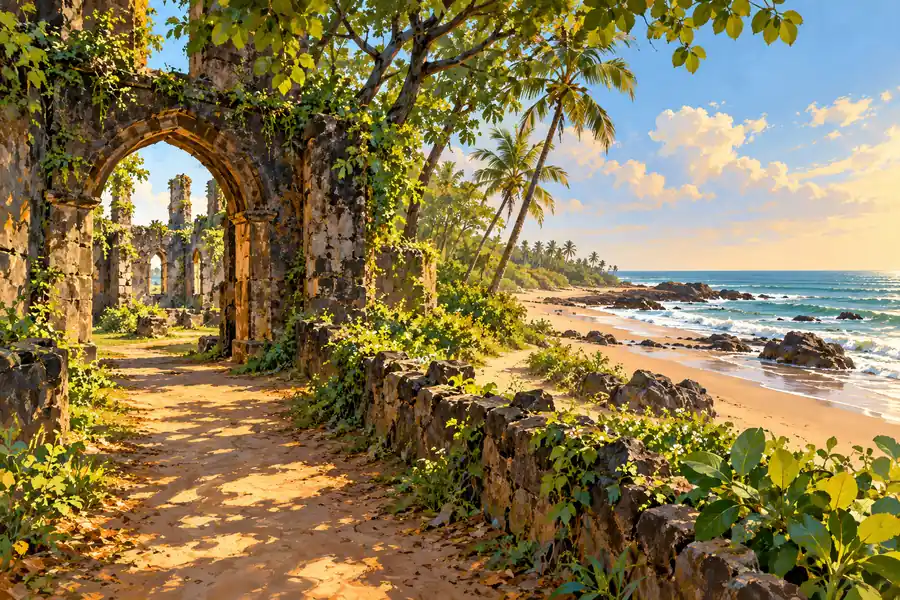
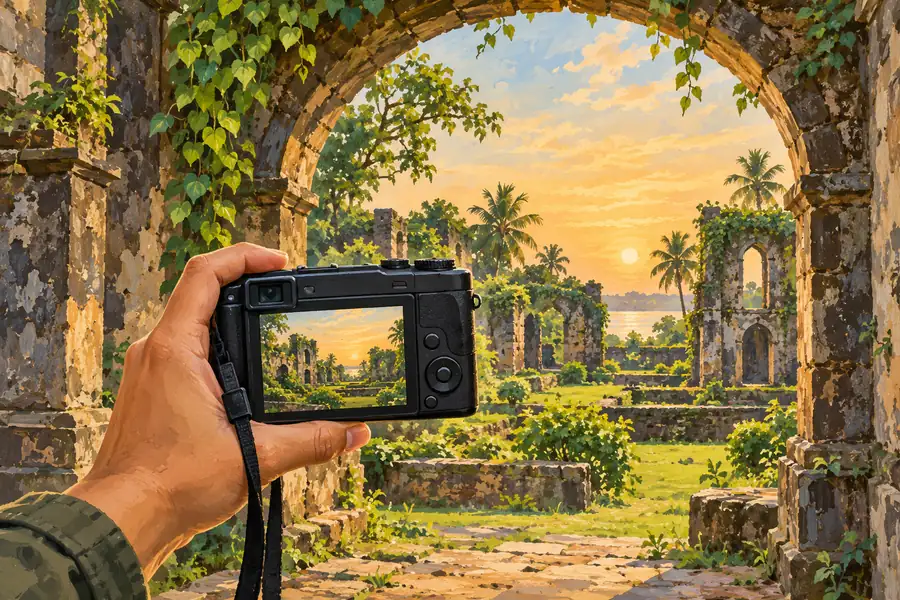
Do not let editing turn an ordinary sky or setting into something you later describe as an exact documentary view. If you create an artistic transformation, label it clearly. The same applies to generated illustrations used as article covers: they should not be presented as photographs of the location.
For captions, record the destination, date and visible subject. Separate a confirmed building name from a general description such as “stone arch at Vasai Fort.” If a species, structure or historical claim is uncertain, leave it unclaimed until verified.
A photo sequence gains value from accurate context. A few simple captions can help another viewer understand the location without making the pictures carry information you have not established.
Equipment and comfort
A charged phone, clean lens and enough storage are a practical starting kit. A compact camera can add control if you already use one comfortably. Carry water and suitable footwear, and keep the equipment manageable for the route you choose.
Use a secure strap or bag and protect devices from sand and moisture. Avoid leaving equipment where the advancing water can reach it. Choose a dry pause point for changing accessories or checking the pictures.
Commercial productions and drone flights require separate attention to applicable permissions. Ordinary visitor access should not be treated as permission for every kind of photography activity. Confirm arrangements before arriving with a larger setup.
Give the walk a useful finish
If the group includes people who are not photographing, agree on the walking time and a meal afterwards. The Vasai weekend itinerary helps place a photo walk within a fuller outing while leaving room for rest.
My suggestion is to return to the same theme on another day and compare the results. Did you notice different details? Did the light change the subject? A photo walk becomes more rewarding when it develops your attention, with a small honest record of the place as the result.